
Last updated October 30, 2026
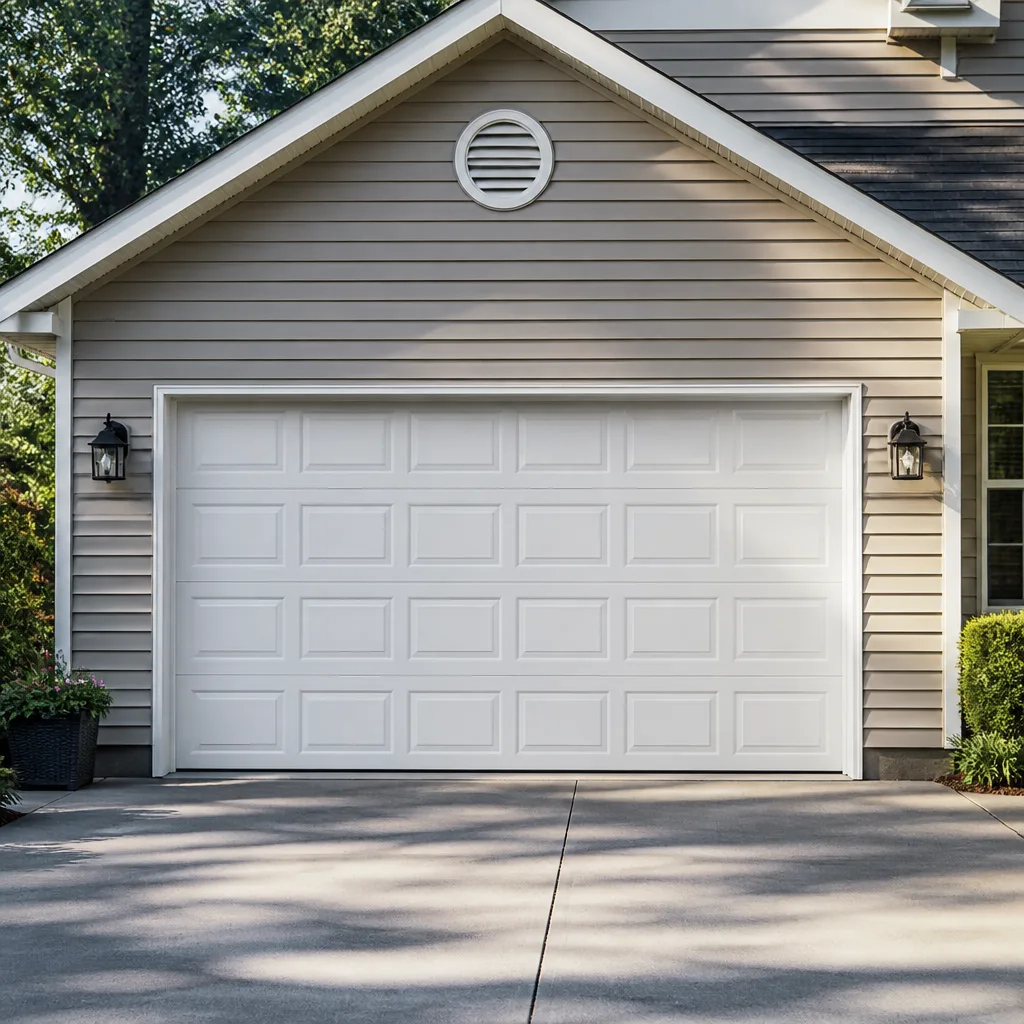 Raised-panel steel
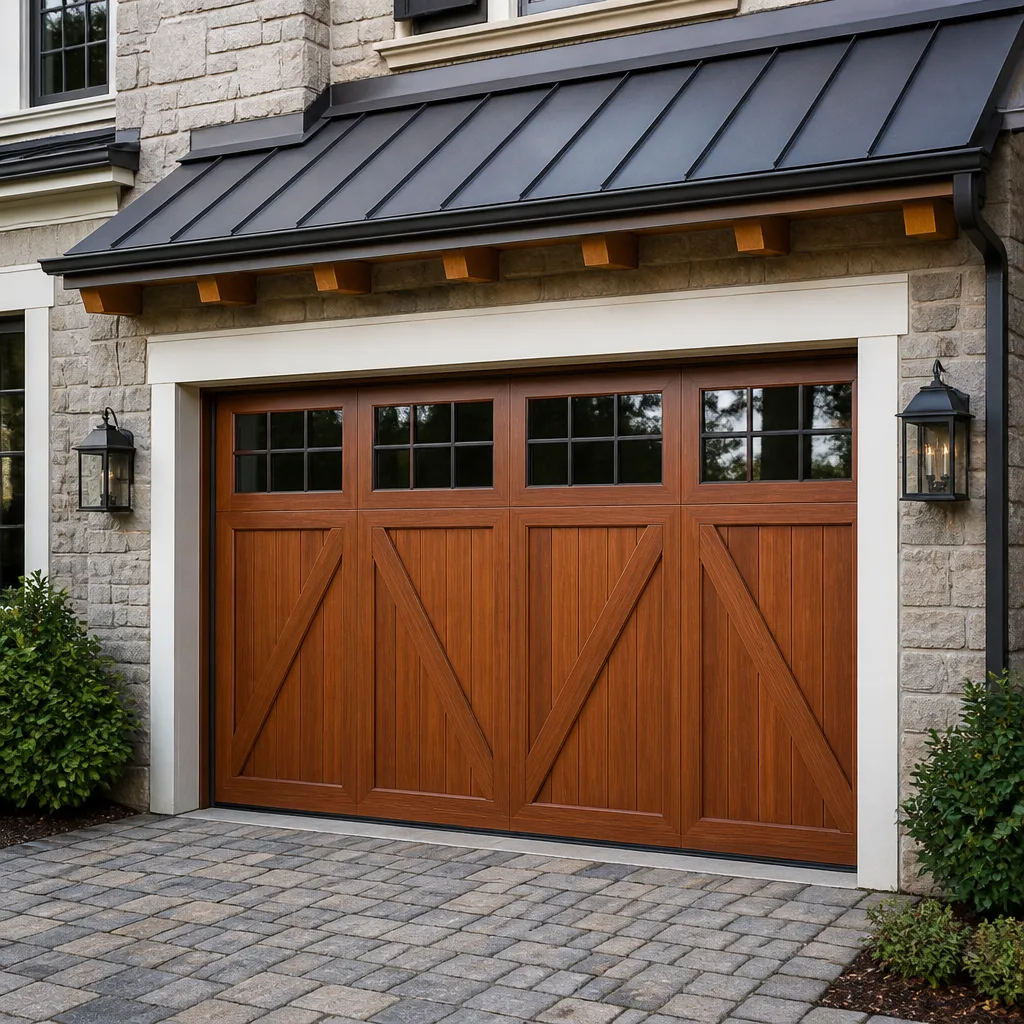 Carriage house
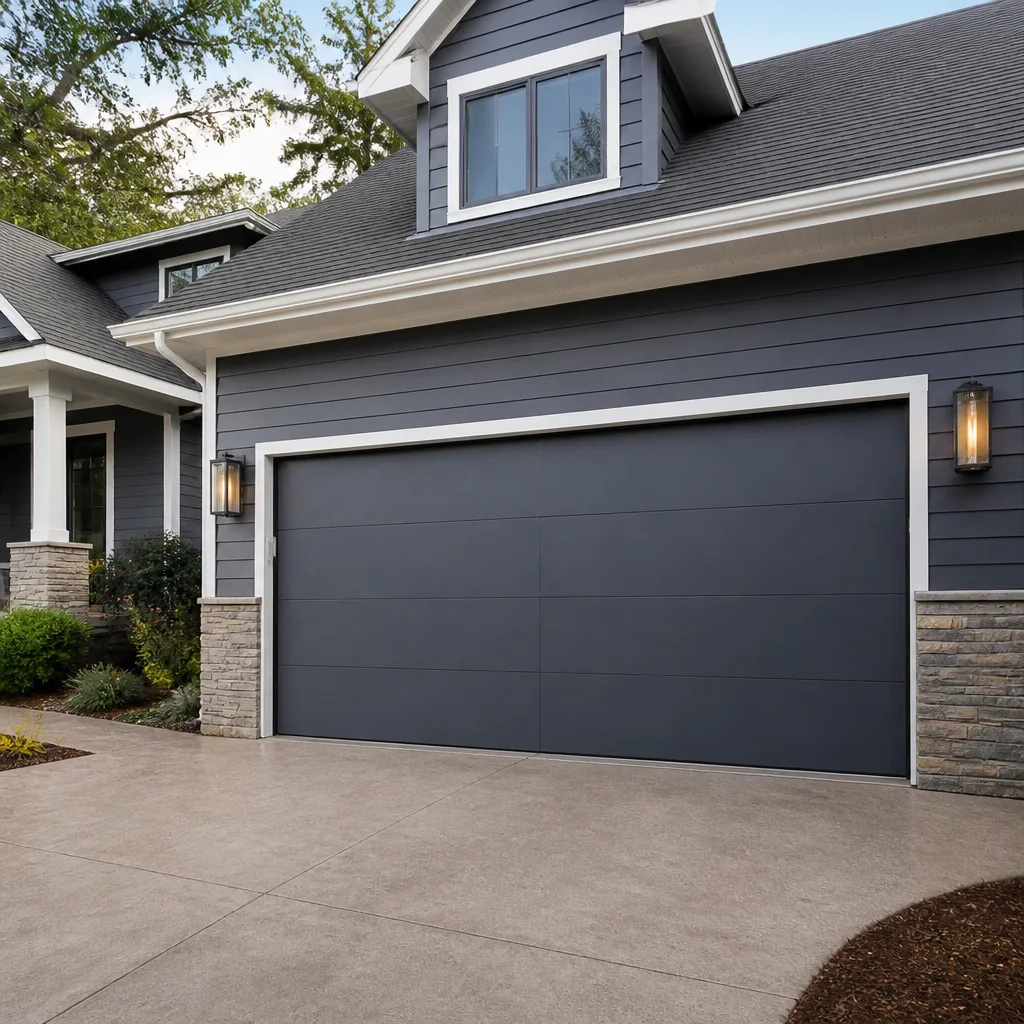 Modern flush
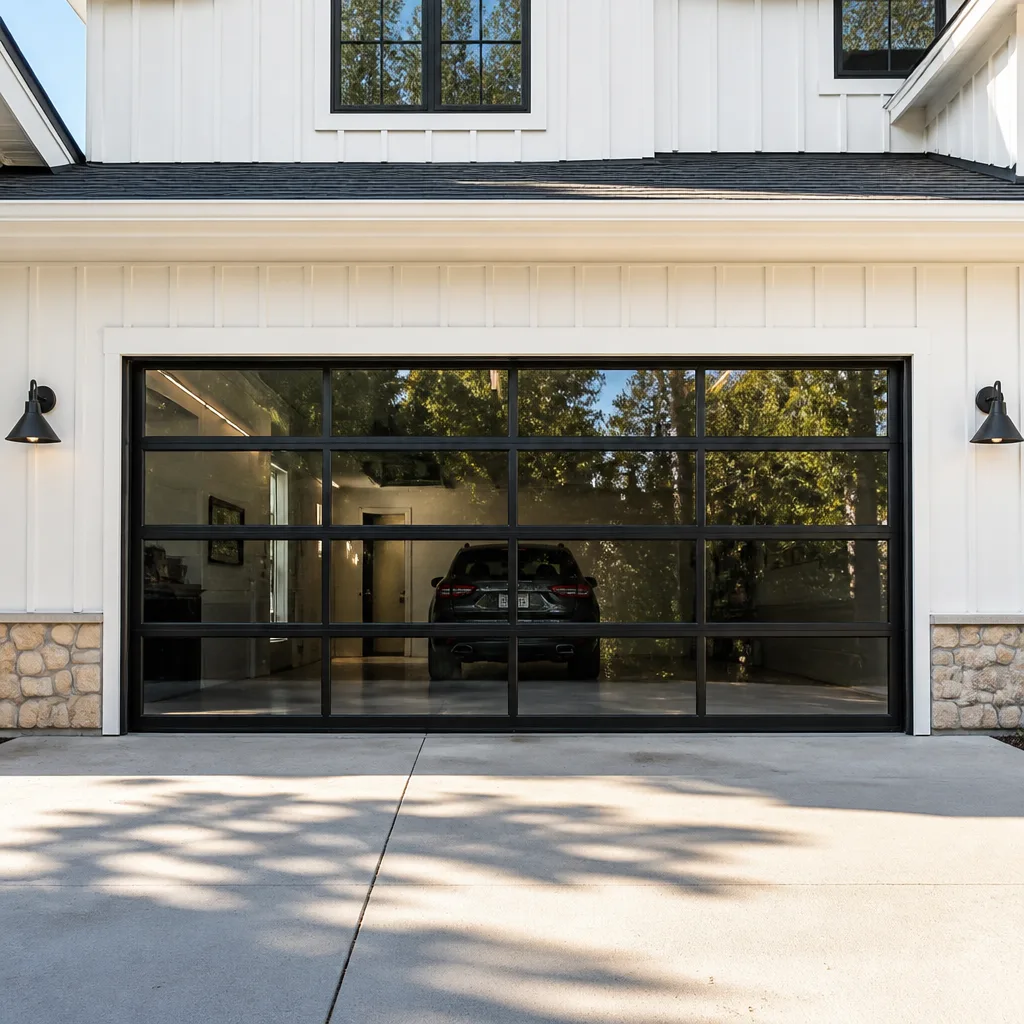 Full-view glass
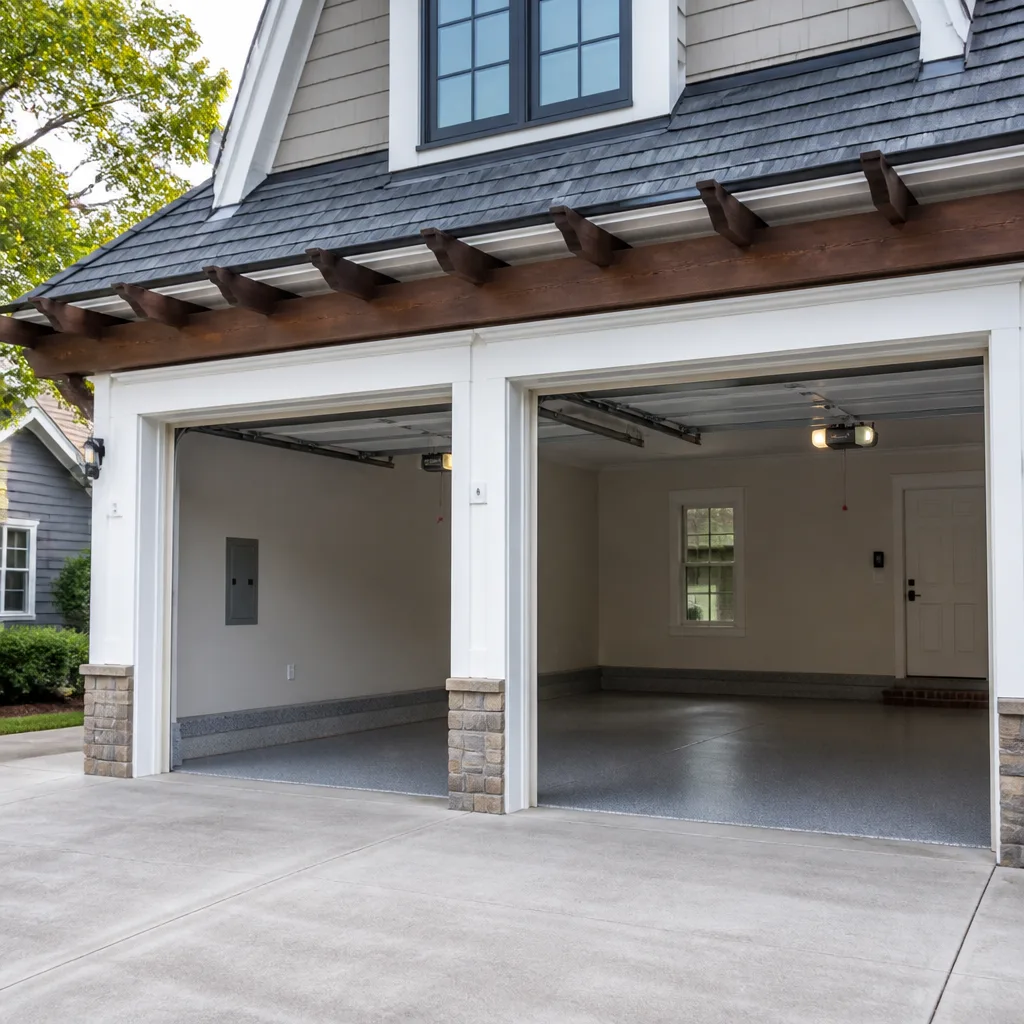 LiftMaster openers
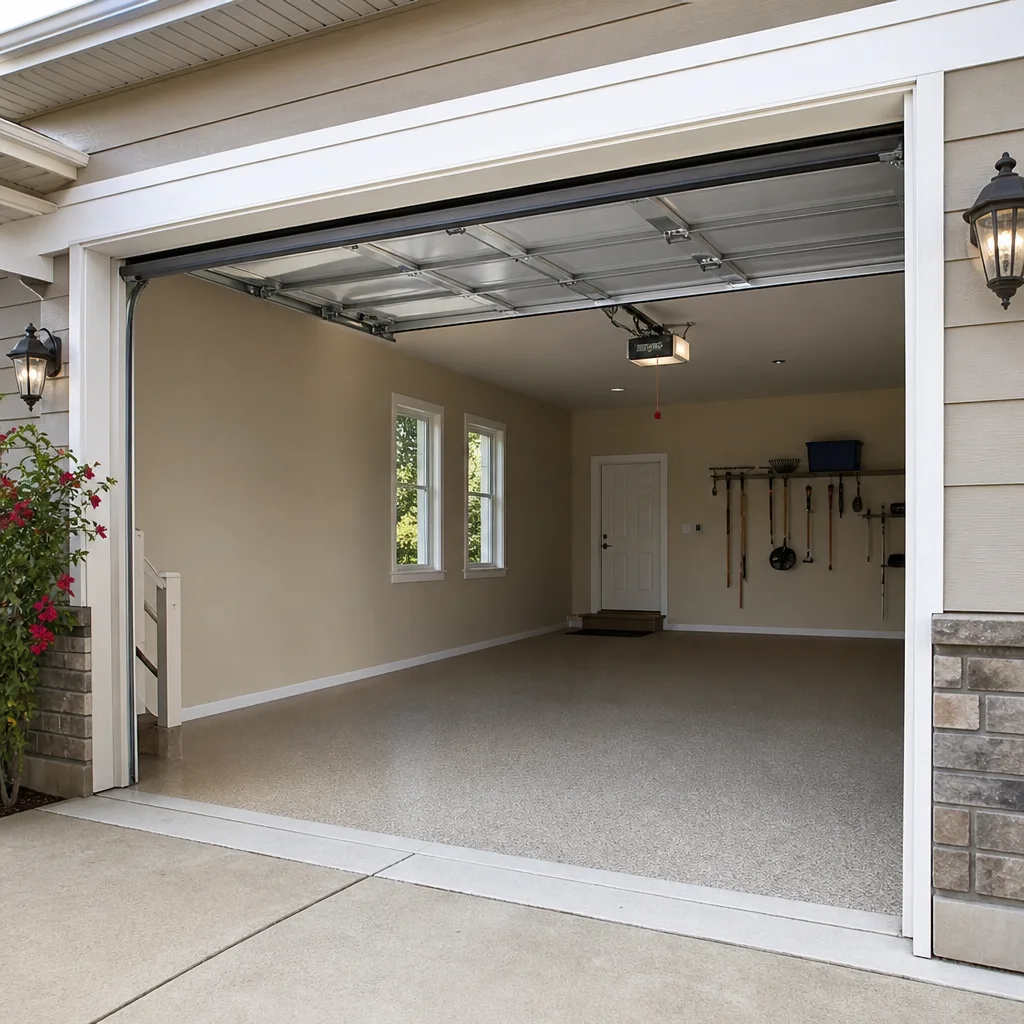 Chamberlain openers
Full 25-point door and opener safety check with every visit - springs, cables, rollers, tracks, and your LiftMaster or Chamberlain opener included
You get a price before we start. It does not change when the truck arrives.
Get your free estimateGarage Door Repair Troubleshooting: Common Problems and How to Fix Them
If you’ve already replaced your sensors twice and the door still reverses before closing, the sensors were never the problem. That’s the trap most troubleshooting advice sets: it treats each symptom as an isolated fault when a garage door is actually one connected system. The opener talks to the springs, the springs talk to the track, the track talks to the door, and when any one of them lies, the others compensate in ways that look like failures somewhere else. This guide teaches you to read the whole system, the way a technician in Temecula does every day, instead of throwing parts at a guess. If you’d rather leave it to the pros, see our Garage Door Repair services. You’ll learn the three mechanical checks that eliminate most guesswork, how to decode your opener’s blinking error codes before touching a single component, and which repairs you can stage safely versus which ones demand a professional now.
Quick Answer
Most garage door problems trace back to one of four root causes: a broken or worn spring, misaligned or obstructed safety sensors, a travel-limit setting that has drifted out of calibration, or track misalignment caused by loose hardware or a bumped rail. Before replacing any part, run the manual-release test and the balance test outlined below, because those two checks isolate the problem in under five minutes. If the door is heavy or won’t stay up when released, it’s a spring issue; if it reverses or won’t close at all, suspect the sensors or close-limit setting; if it grinds, shakes, or binds mid-travel, suspect the track or rollers.
Styles & brands we work with
Table of Contents
- The Symptom-to-System Map: What Your Door Is Actually Telling You
- Reading Your Opener’s Blinking Error Codes Before Touching a Single Part
- The Three Mechanical Checks That Eliminate 80% of Guesswork
- The Door Reverses Before Closing: Sensors Are Only Half the Story
- The Door Won’t Open at All: Opener, Spring, or Obstruction?
- A Noisy Door: Diagnosing Grinding, Squealing, and Rattling by Sound
- Staged Repairs vs. Safety Hazards: What You Can Wait On and What You Can’t
- Repair vs. Reinstallation: When the Door Was Never Installed Right in the First Place
The Symptom-to-System Map: What Your Door Is Actually Telling You
A garage door has five subsystems that all interact: the door panels themselves, the torsion or extension springs, the track and rollers, the opener motor and drive mechanism, and the safety-reversal system (sensors plus force settings). When one subsystem fails, the symptom often shows up in a different one. A door that slams hard when closing feels like an opener problem, but it’s usually a spring that’s lost tension. A door that reverses near the floor looks like a sensor fault, but in many cases the close-limit setting has drifted and the opener thinks the floor is three inches higher than it actually is. A door that jerks on the way up reads as a track problem, but it’s frequently a worn drive gear in the opener itself.
That’s why a systematic approach matters. In Temecula, we see doors that have been through multiple sensor replacements, multiple logic-board swaps, even a full opener replacement, when the original problem was a track bolt that had worked loose in the summer heat and let the rail drift a half-inch out of alignment. The symptom kept reappearing because nobody fixed the thing that was actually wrong. The map below traces each common symptom back to every root cause we check, in the order we check them.
- Door reverses before or immediately after touching the floor: misaligned photo-eye sensors, obstructions in the sensor beam, close-limit setting too low, worn springs causing the door to drop too fast and trip the force-safety circuit, or a warped bottom seal dragging on uneven concrete.
- Door opens a few inches and stops, or won’t open at all: broken torsion spring, broken extension spring, disconnected opener carriage, stripped drive gear, locked door (manual slide lock engaged), or a frozen roller in a corroded track.
- Door is heavy when operated manually: worn or broken springs, or a door that was never balanced correctly after installation. This is a spring problem almost every time.
- Door grinds, squeals, or rattles during travel: dry or worn rollers, loose track bolts, a misaligned track, a failing drive gear inside the opener, or chain slack on a chain-drive opener.
- Opener runs but the door doesn’t move: broken spring (the opener is trying to lift dead weight and either strips its gear or stalls), disconnected trolley/carriage, or a worn drive gear.
- Door drifts down after opening, or slams hard on the way down: weakened springs, usually torsion springs that have lost their rated life. Every spring has a cycle life; once it’s spent, the door starts moving like it’s wearing ankle weights.
This way of thinking changes the repair outcome, because you stop fixing the symptom and start fixing the system. If you’re working from a parts-replacement logic, you’ll keep buying sensors. If you’re working from a system logic, you’ll find the loose bolt, the worn gear, or the spent spring the first time.
Garage Door Repair in Temecula is what we do every day, and the diagnostic sequence above is exactly what our technicians run on every call.
Reading Your Opener’s Blinking Error Codes Before Touching a Single Part
Every major opener brand built since 1993 has onboard diagnostics that flash a code through the opener’s learn button or main lights. This is the fastest free diagnostic tool you already own, and most homeowners never use it. Before you loosen a single bolt or buy a single part, count the blinks. The code tells you whether the problem is in the safety circuit, the force circuit, the logic board, or the travel limits.
Here’s how to read the codes on the four most common openers we service. The format is: brand, where to look, and what the flash patterns mean.
LiftMaster and Chamberlain (combined because Chamberlain manufactures LiftMaster)
Look at the learn button on the back of the motor unit and the main lights. The diagnostic LED sits right above or beside the learn button.
- 1 flash: The safety sensors are misaligned, obstructed, or have a wiring fault. Note: this code fires even if the sensor is aligned but has a dead LED. Check both the alignment and the receiving sensor’s green light.
- 2 flashes: The close-limit has been reached prematurely, or the door isn’t making contact with the floor before the opener thinks it should. This is a limit-setting or a physical obstruction issue.
- 3 flashes: Force-sensor circuit failure inside the logic board. On newer units this can indicate a board failure, but on a good percentage of calls it’s a door that’s binding and tripping the force threshold.
- 4 flashes: The opener’s internal travel module has lost calibration. Reprogram the travel limits, but if the code comes back, the travel module or logic board is failing.
Genie
Genie openers use an LED on the powerhead, and the codes are displayed through the wall console on later models.
- Green LED blinking, opener won’t run: The door is in lock mode, the wall console is faulty, or the safety-beam circuit is open. Check the wall console first; the lock button gets hit by accident more than you’d think.
- Red LED blinking, door reverses: The safe-t-beam is blocked or misaligned. This is the most common Genie code and the most commonly misdiagnosed, because Genie sensors are sensitive to alignment drift and direct sunlight.
- LED blinking 5 times: The RPM sensor on the motor shaft is faulty, which usually means the motor itself has a problem.
Craftsman
Most Craftsman openers are Chamberlain-manufactured units from the 2000s and 2010s, so they use the same 1-to-4 flash code list as LiftMaster and Chamberlain. If your Craftsman has a wall console with a diagnostic readout, the codes print as numbers rather than flashes.
Raynor
Raynor uses a similar LED system on most residential models, with one important distinction: Raynor’s travel-limit code can fire even when the limits are correct, because Raynor openers measure force separately from travel and report the higher of the two faults first. If a Raynor flashes a limit code and the limits match, check the door balance; it’s usually a spring.
The point here is not to memorize every code for every brand. The point is to spend 60 seconds reading the code before you spend money on parts. In Temecula, our technicians check the diagnostic LED before checking anything else, because it tells them whether they’re chasing a sensor, a spring, a gear, or a board. If you call us, we’ll have already narrowed the problem based on the symptoms you describe, but the onboard code gives us the direction before we even back the truck up.
For opener-specific diagnosis, see our Garage Door Opener Repair in Temecula page.
The Three Mechanical Checks That Eliminate 80% of Guesswork
Before you touch the opener, the limit settings, the sensors, or anything electrical, run these three mechanical checks. They are the fastest, cheapest diagnostic sequence in garage door repair, and they isolate the problem into spring, track, or opener about 80% of the time. All three take under ten minutes total.
Check 1: The Manual Release Test (Isolate the Door from the Opener)
- Pull the red emergency release cord hanging from the opener rail. This disconnects the trolley from the carriage.
- Try to lift the door by hand from the closed position.
- Try to raise it to the halfway point and let go.
What the results tell you: if the door is too heavy to lift, or it’s impossible to move more than a few inches, the springs are the problem, not the opener. A healthy door with balanced springs should lift with one hand and stay roughly in place at the halfway point. If the door flies up or slams down when released, the springs are either overtensioned or undertensioned, or they’re completely spent. If the door moves smoothly and holds position manually, the door hardware and springs are fine, and the problem is in the opener or its travel/force settings.
Check 2: The Balance Test (Isolate the Springs)
With the door still released from the opener, lift it to three positions: a third of the way up, halfway, and three-quarters. Let go at each point.
- Door holds at all three points: springs are balanced. Any remaining problem is track or opener related.
- Door drops at multiple points: springs have lost tension, or one of a two-spring torsion setup has broken. On a two-spring system, one broken spring can be hard to see because the door still moves, but the balance test reveals it immediately.
- Door rises on its own: springs are overtensioned, typically from a previous adjustment that went too far. Overtensioned springs wear out faster and can make the door feel jumpy.
Check 3: The Track and Roller Inspection (Isolate the Hardware)
- Close the door and inspect each side of the vertical and horizontal track for gaps between the track and the wall brackets. Use a level if you have one.
- Look at the rollers. Nylon rollers with cracked or missing wheels, or steel rollers with flat spots, create drag that the opener reads as excess force.
- Check every bolt and bracket. In Temecula, the temperature swings between cool mornings and hot summer afternoons cause metal to expand and contract constantly, and bracket bolts work loose faster than in more stable climates. A track that’s drifted even a quarter-inch creates binding that mimics a motor fault.
If all three checks pass and the door still misbehaves, the problem is almost certainly electrical: sensors, limits, force settings, or the opener’s logic board. That’s when the error codes from the previous section become your next step. Skip these checks and you’ll end up replacing a perfectly good opener because the real problem was a broken spring the whole time.
The Door Reverses Before Closing: Sensors Are Only Half the Story
This is the single most misdiagnosed problem in residential garage doors. Homeowners see the door reverse before it closes and immediately suspect the photo-eye sensors, because that’s what every troubleshooting guide tells them. The truth is that a reversing door has at least four possible causes, and on a meaningful percentage of our service calls in Temecula, the sensors are working exactly as designed.
The reverse-before-close symptom is the opener’s safety circuit firing. The safety circuit has two parts: the photo-eye sensors at the bottom of the track, and the force-sensing circuit inside the opener. Either one can trigger the reverse. Here’s the full list, with the question to ask for each.
- Photo-eye misalignment or obstruction: Are both sensor lights on and steady? A blinking or unlit sensor means the beam is broken or the sensor is misaligned. This is the cheapest fix and takes about two minutes, which is why it gets checked first.
- Direct sunlight hitting the receiving sensor: In Temecula, this is a genuinely common cause. Afternoon sun on a west-facing garage can flood the receiver with infrared light and fool it into thinking the beam is broken. The fix is a simple sensor sun shield or a slight angle adjustment.
- Close-limit setting too low: Is the opener trying to close the door past the point where it physically stops? If the close-limit is set six inches below the actual floor, the opener hits resistance, the force circuit trips, and the door reverses. The fix is reprogramming the close-limit, not touching the sensors.
- Worn springs causing a fast drop: Does the door accelerate as it approaches the floor? Weak springs let the door drop faster than designed, and the opener’s force sensor reads that spike as an obstruction. This is a spring replacement, not a sensor replacement.
- Frozen or dragging roller: Does the door hesitate or stutter at a specific point on the way down? A single seized roller creates enough drag to trip the force circuit. Replace the roller, not the sensors.
The sequence that catches the most problems fastest is: check the sensor lights, then reprogram the travel limits, then run the balance test from the previous section. If the door reverses after all three, you’re dealing with either a force-setting issue inside the opener or a logic board that’s drifting out of calibration. In our experience, about 40% of “sensor problems” turn out to be limit or balance problems, which is why we never replace a sensor without checking the rest of the system first.
The Door Won’t Open at All: Opener, Spring, or Obstruction?
A door that won’t open at all is one of three things: the opener has failed, a spring has broken, or there’s a mechanical obstruction. Telling them apart takes about a minute and saves you from calling a repair company for a problem you could fix yourself, or worse, spending money on an opener when the spring is the culprit.
Step 1: Run the Manual Release Test
Pull the red release cord and try to lift the door by hand. If the door won’t budge, or it’s too heavy to lift, you have a broken spring or a mechanical bind. A broken torsion spring is usually obvious: there’s a visible gap in the coil, often at the center bracket. A broken extension spring dangles or is missing entirely from one side. This is not a DIY repair. Torsion springs are under hundreds of pounds of tension and the release of that tension is dangerous enough to cause serious injury or death when handled wrong. Call a professional for spring replacement.
If the door lifts smoothly by hand and holds position, the door and springs are fine. The opener is the problem.
Step 2: Listen to the Opener
Press the wall button and listen. Do you hear a hum but no movement? The motor is getting power but the drive mechanism isn’t engaging. That means a stripped drive gear, a broken belt, or a disconnected trolley. On LiftMaster and Chamberlain units with a plastic drive gear, the gear teeth wear down after about 8-10 years and the motor spins freely without turning the shaft. The fix is a gear replacement, and it’s one of the most common opener repairs we do on units between 7 and 12 years old.
Do you hear nothing at all? Check the power source. Is the opener plugged in, is the outlet live, and is there a GFCI that’s tripped? In Temecula, many garages have GFCI outlets on the same circuit as outdoor outlets, and a tripped outdoor GFCI kills the garage opener too. Check the breaker before assuming the opener is dead.
Do you hear a click but no motor sound? That’s usually the logic board failing to send the run command. The wall console works, but the board isn’t responding. This is a diagnosis, not a guess, because the click tells you the control circuit is functioning and the motor circuit is not.
Step 3: Check the Carriage and Travel Path
Look at the opener rail. Is the trolley/carriage connected to the release mechanism? If the door was manually operated recently, the carriage may not have re-engaged. Run the opener once and it should reconnect on its own when it reaches the carriage. If it doesn’t, there’s a disconnection or a bent release lever.
The sequence matters here. In Temecula, we get calls for “dead openers” that turn out to be tripped GFCIs, and calls for “broken doors” that turn out to be stripped plastic gears. The fastest path to the right answer is: release the door, test the door manually, listen to the opener, then check the simple electrical bases. That’s the same order our technicians follow.
Whatever brand is on your door, we know it. Old Glory Garage Door works on all eight major residential brands, from our home page you can see the full range of what we cover.
A Noisy Door: Diagnosing Grinding, Squealing, and Rattling by Sound
Sound is a diagnostic tool, and different noises point at different failures. A garage door that sounds bad is telling you exactly what’s wrong, if you know how to listen. Here’s how we classify noise on service calls.
Grinding or Growling During Travel
A metallic grinding noise that follows the door as it moves is almost always a failed roller bearing or a dry, worn roller. Steel rollers with ball bearings that have gone dry will grind and screech. The door may still move, but the rollers are adding drag, which overworks the opener and shortens its life. If the grinding is constant regardless of door position, and it comes from the motor unit itself, the drive gear inside the opener has stripped and is spinning against the shaft. That’s a gear replacement.
Squealing Only When the Door Starts or Stops
A squeal at the exact moment the door begins moving, and again when it stops, is usually the torsion spring binding or the torsion tube bushings running dry. Springs rotate as the door moves, and if the spring has lost its lubrication or is rubbing against the center bracket, it squeals. A light application of a garage-door-rated lubricant to the spring and bushings can quiet it, but if the squeal is from a worn torsion tube bearing, the bearing needs replacement.
Rattling That Gets Worse as the Door Moves
Rattling is loose hardware. The culprit is usually one of three things: loose track bolts that let the track vibrate, a loose opener chain that slaps the rail, or worn rollers with play in the hinge. Go through the door and physically wiggle every bolt, bracket, and hinge. Any bolt that turns under hand pressure is loose enough to rattle. Tighten it. If the rattling persists, check the chain tension on a chain-drive opener; a slack chain sounds like a metal-on-metal rattle.
One Temecula-specific note: our dry summer air and dusty conditions pull lubrication out of rollers and hinges faster than coastal climates. A door that gets noisy every summer probably needs its rollers and hinges serviced annually, not ignored until the opener burns out from the extra drag. We’ve replaced openers that died years early because a ten-dollar roller was left to grind.
Staged Repairs vs. Safety Hazards: What You Can Wait On and What You Can’t
Not every repair needs to happen this week, and some repairs should not be touched by anyone except a trained professional. Knowing the difference saves you money and keeps you safe. Here’s the breakdown we use with every customer.
Can Be Staged (Fix It Within a Few Weeks)
- Worn rollers: If the roller isn’t seized but is worn, the door still operates, and you have time. Plan the replacement and do all the rollers at once rather than one at a time.
- Loose bolts and brackets: Tighten them now, but if the door is tracking straight, the problem is contained.
- Weather seal replacement: A cracked bottom seal lets in dust, water, and bugs, but it’s not a safety issue. In Temecula, a gap in the bottom seal also lets hot air in, which matters in August, but it’s still not an emergency.
- Opener noise that’s not a gear failure: If the opener runs loud but the door moves smoothly, you can schedule the repair rather than rush it.
Do Not Touch. Call a Professional Today.
- Broken torsion spring: A garage door with a broken spring is a suspended weight with no counterbalance. If the emergency release is pulled, that door can come down with enough force to injure or kill. The spring itself, even broken, may still be under partial tension. This is the single most dangerous component in a residential home, and it is not a weekend project.
- Broken extension spring cables: If a cable snaps, the door can fall unevenly and bind in the track, or worse, drop altogether. The cable and spring system is under load even when the door is open.
- Bent or cracking track: If the track has been hit by a vehicle or has visible deformation, the door can derail under load. A derailed door falls, and a falling door is a lethal object.
- Any work on a door that’s partially open and won’t move: If the door is stuck halfway and you can’t get it to close or open safely, don’t force it. Call a professional. Forcing a stuck door is how track damage and cable snaps happen.
The rule is simple: springs and cables are never DIY. Rollers, hinges, bolts, and sensors are things a competent homeowner can handle. If you’re not sure which category your problem falls into, call a professional and ask. At Old Glory Garage Door, we’ll tell you over the phone whether it’s something you can handle or something you should leave to a technician, and we’ll quote you a price before we ever send a truck.
Repair vs. Reinstallation: When the Door Was Never Installed Right in the First Place
Some garage doors don’t have a repair problem. They have an installation problem, and no amount of part replacement will fix a door that was hung wrong from day one. Telling the difference between a repair issue and an installation issue is one of the most valuable skills in troubleshooting, because it changes the whole strategy.
Signs the Door Was Improperly Installed
- The door has never closed flush on one side: If there’s a gap between the bottom of the door and the floor on one side that’s been there since installation, the track was hung out of level. The door will always bind, and the opener will always work harder than it should.
- The door changes speed at specific points every single time: A consistent speed change at the same spot usually means the track has a bend or the spring was under- or over-tensioned at installation.
- The opener is less than five years old and already showing signs of gear wear or board failure: A properly installed door with balanced springs and aligned track lets an opener run for 12-15 years with routine care. An opener that fails early is usually failing because the door it’s attached to was never set up correctly.
- Visible shims, gaps between the track and wall brackets, or brackets mounted to drywall instead of framing: These are installation shortcuts that fail slowly and expensively.
What This Means for Repair Decisions
If the door shows installation problems, the smart repair is not to keep treating symptoms. It’s to correct the installation. That might mean re-hanging the track, re-tensioning the springs, or in severe cases, replacing the door and hardware as a system. This is where the brand-agnostic advantage matters. Whether you have a Wayne Dalton, a Craftsman, a Raynor, or a LiftMaster, the mechanical reality is the same: a door installed wrong will always break down, regardless of whose name is on the panel.
If you’re in Temecula and you suspect your door was never hung correctly, call us for an assessment rather than another part swap. We’ll tell you straight whether the door needs a repair or a reinstallation, and why. You can reach us at (877) 522-1085. If it’s a new installation you need, our Garage Door Installation in Temecula page has the details.
Common Mistakes to Avoid
- Replacing the sensors without checking the close-limit setting. A door that reverses near the floor is frequently a limit problem, not a sensor problem. Check the limits before buying parts.
- Lubricating the track. The track is not supposed to be lubricated. Grease on the track attracts dust and grit and makes things worse. Lubricate the rollers, hinges, and springs instead.
- Adjusting the springs without proper winding bars and training. Torsion springs store enough energy to break bones or kill. This is the most common serious injury in home DIY. Don’t do it.
- Ignoring a noisy door because it still works. Noise is drag, and drag kills openers. A noisy door that’s left alone will eventually overwork the opener into an early grave.
- Forcing a stuck door. If the door won’t move, there’s a reason. Forcing it turns a spring problem into a track problem, or a track problem into a cable snap.
- Skipping the manual release test before calling a repair company. Releasing the door and testing it by hand tells you in 60 seconds whether you have a door problem or an opener problem. It also tells us, over the phone, which technician and what parts to send. In Temecula, that saves you a second trip.
- Replacing the opener when the springs are worn out. A new opener on a heavy, poorly balanced door will burn out the same way the old one did. Balance the door first, then replace the opener if it’s actually needed.
See the difference
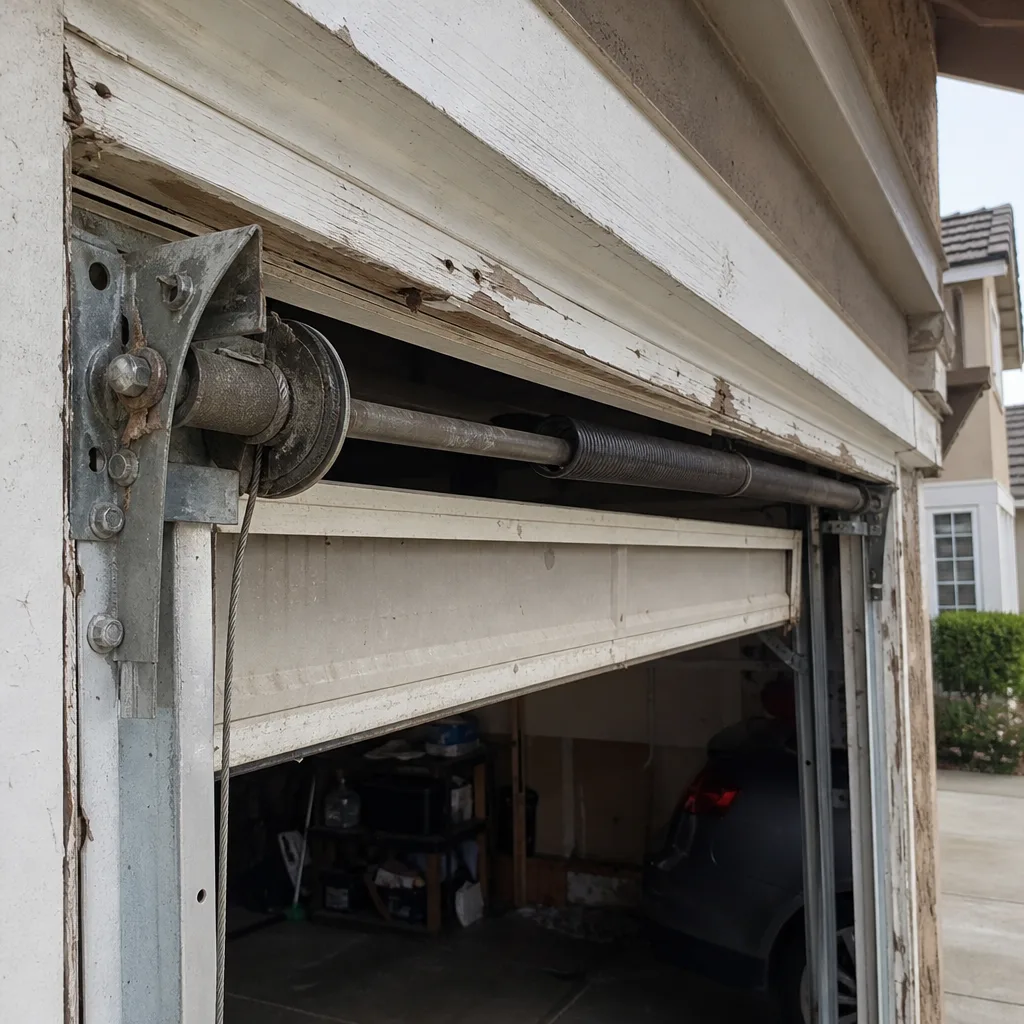 Before
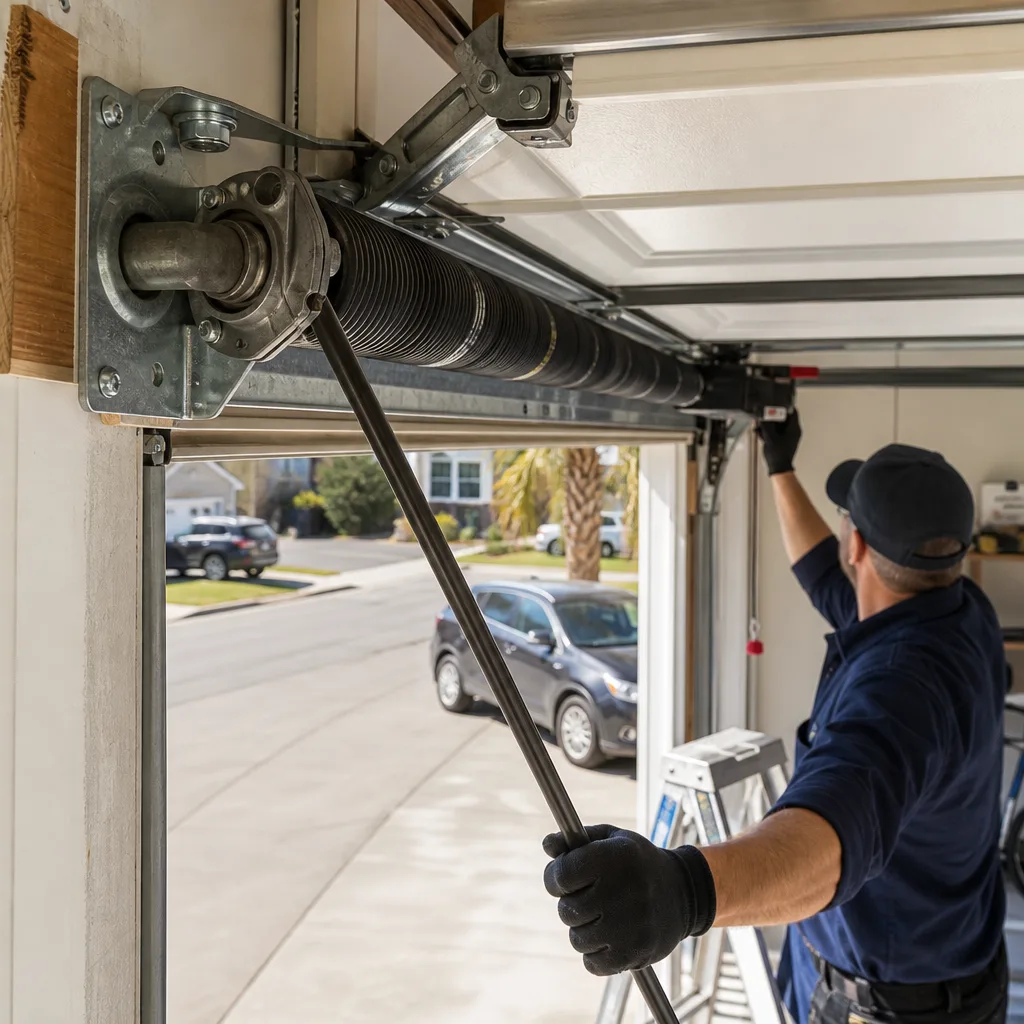 After
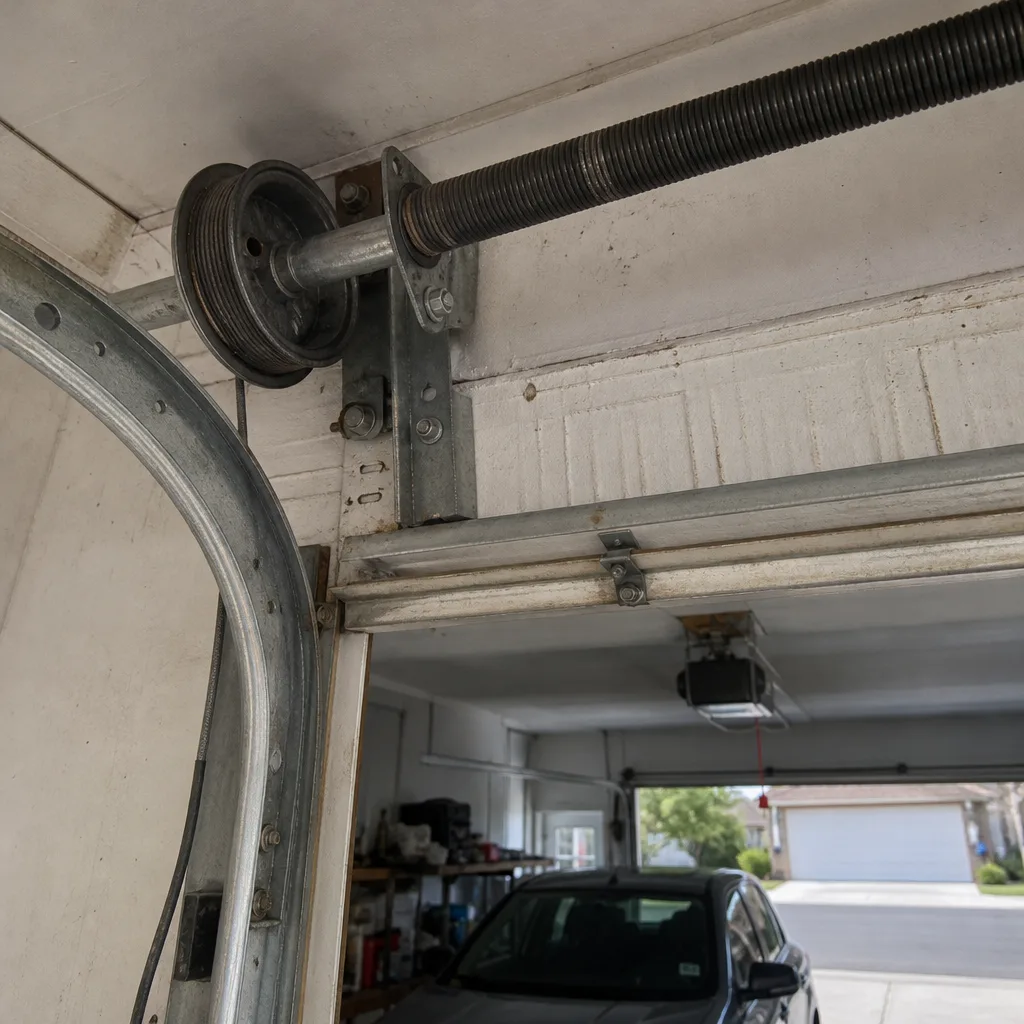 Before
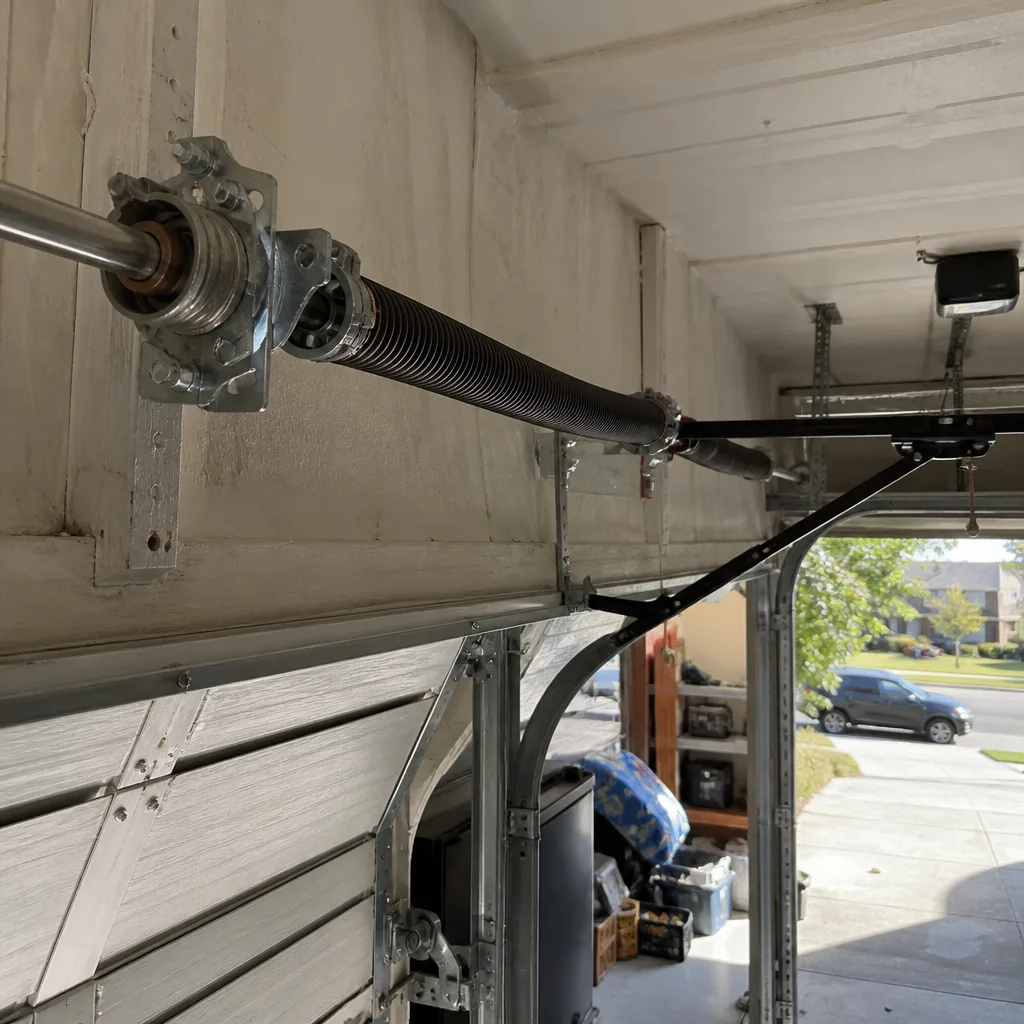 After
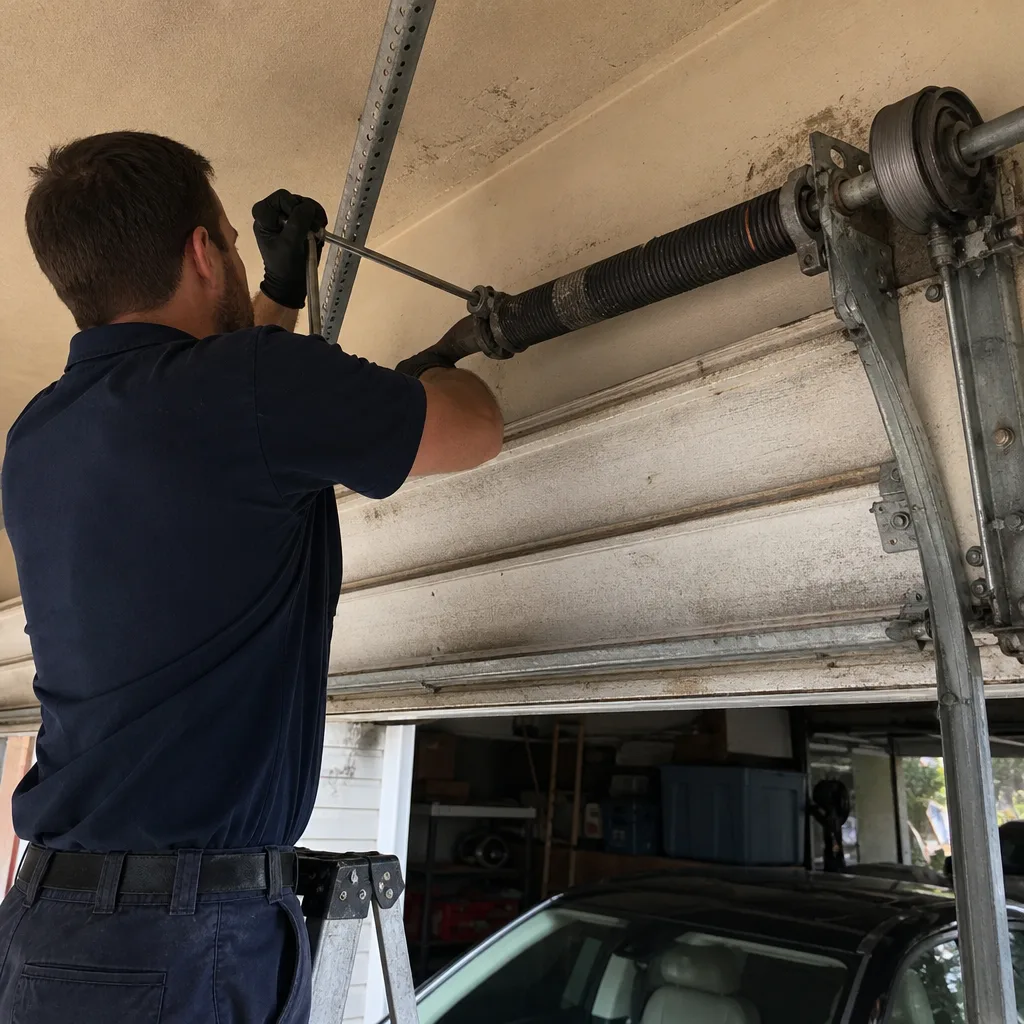 Before
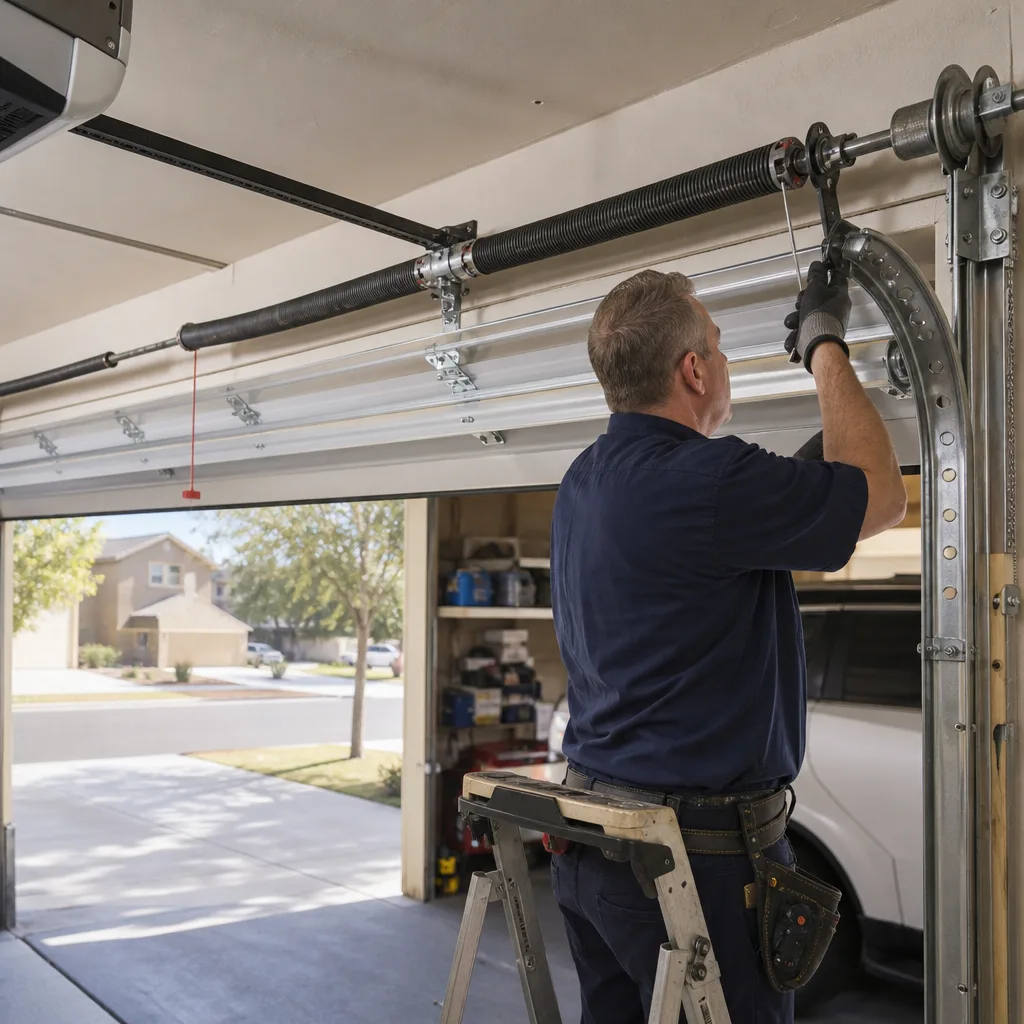 After
When to Call a Professional
Call a professional for any spring or cable work, any track damage, or any door that won’t move and can’t be safely closed. Not sure who to trust? Check our How to Hire a Garage Door Contractor in Temecula: A Step-by-Step Guide. Call us if you’ve already replaced a part and the symptom came back, because that means the original diagnosis was wrong, and a second wrong guess will cost more than a correct one. Call us if the door is over 15 years old and has multiple problems at once, because piecemeal repairs on an end-of-life door often cost more than a replacement. Old Glory Garage Door offers free estimates in Temecula, and we’ll give you a straight answer on the phone before you ever spend a dollar. Call (877) 522-1085.
Frequently Asked Questions
Most residential garage door repairs in Temecula run between $150 and $400 depending on the part and labor, with spring replacement typically between $250 and $350 per spring, roller replacement between $125 and $200 for a full set, and sensor or limit reprogramming between $100 and $175. The range varies based on the brand, the door’s size and weight, and whether the job is a single component or a system repair. Call (877) 522-1085 for an exact quote, and we’ll give you a fixed price before any work begins.
In most cases, yes. We carry the common repair parts for all eight major brands on the truck, including springs, cables, rollers, gears, sensors, and limit components, so the vast majority of calls are completed in a single visit. If the repair requires a special-order part or a full new door, we’ll give you a timeline up front and a written quote before you commit. For DIY-friendly maintenance tips and more guides & resources, visit our blog.
No. We quote a fixed price over the phone based on the symptoms you describe and the diagnosis we can make from that description. If the technician finds something additional, we explain it and get your approval before performing any extra work. You’ll know the exact cost before any work starts, and that price is the price.
Yes, and here’s why: torsion springs are rated for a certain number of cycles, and both springs on a two-spring system were installed at the same time and have cycled the same number of times. If one has failed, the other is at the end of its life too. Replacing only the broken spring leaves you with an unbalanced door and a second spring failure in the near future, which costs more in the long run than doing both now.
LiftMaster and Chamberlain consistently hold up well in residential use, and Genie, Craftsman, and Raynor units all have models that run reliably for 12-15 years when the door is balanced and the opener is maintained. The brand matters less than the installation. A cheap opener on a properly balanced, aligned door will outlast a premium opener on a poorly installed door. Whatever brand you already own, a good technician can work on it, which matters more than what the big-box store wants to sell you this week.
You can safely handle loose bolts, roller lubrication, sensor realignment, weather-seal replacement, and limit reprocessing. You should not touch springs, cables, or track damage under any circumstances. If the repair involves the words “spring” or “cable,” call (877) 522-1085 and let a trained professional handle it. The cost of a professional repair is a fraction of the cost of an emergency room visit, and a garage door spring is not a forgiving teacher.
The Bottom Line
Garage door troubleshooting stops being a guessing game when you treat the door as one connected system instead of a collection of parts. Run the manual release test before you suspect the opener. Run the balance test before you suspect the springs. Check the travel limits before you replace the sensors. Read the blinking error code before you spend a dollar on parts. Most problems have one root cause and two or three red herrings, and the order in which you check matters more than the parts you buy. If you get stuck, or if the problem involves springs or cables, stop and call a professional. Straight answers, fair price, done right. That’s the standard. Call Old Glory Garage Door at (877) 522-1085 for a free estimate in Temecula.
Written by the team at Old Glory Garage Door, serving Temecula since 2014.